
DIY Ambilight + WS2812B + Arduino + Boblight for Windows
Hello everyone,
I write this post not only to show you my new Ambilight clone but especially hoping to save you the four days of madness that I spent working on this project, including failed attempts and various problems I had to solve.
Yes, Because Those Who decides to engage in this project will come across many headaches, as I myself have Dealt with, and Inevitably will pour on the forums into the sea of questions that are repeated.
I promise you that Following this guide and my resolutions to known problems, you will have an Ambilight clone running in less than 40 minutes. Do not believe me? Follow me and you will see. Let’s start!
List of components:
Hardware
- Led strip type WS2812B
- Arduino Mega
- Power supply stabilized 5V – 45A
Software
- Adafruit Neo Pixel library
- Arduino sketch for reading from serial and controlling LEDs
- Boblightd daemon for windows
- Boblight xbmc client
Arduino Side:
I assume That You Already have Followed this excellent guide to recognize the various types of LED strips, installed the hardware and successfully run the tests.
- “strandtest” from the library Adafruit Neo Pixel
- “Fire2012” and “ColorTemperature” from the library Fast_LED.
Tip: Do not bother with libraries LEDStream or Adalight as they are dedicated to chip WS2801 (4 pins) and use a communication protocol different from the WS2812 (3 Pins).
Make sure you have the library Adafruit_Neo_Pixel-master installed, load this sketch to your Arduino after making sure to change the following fields according to your needs:
DATAPIN: The pin number connected to your data_in of the LED strip.
LEDCOUNT: The number of LEDs used in your system, it’s the number of discrete LEDs present, not the number of RGB channels. Es: If you have 120 LEDs, it is 120.
BAUDRATE: Must be the same value specified in the file boblight.conf of boblightd daemon. If you do not have communications issues whatsoever leave the default value.
PREFIX: This sketch uses a series of 6 HEX numbers to recognize the beginning of each color frame.
Tip: Prefix is an arbitrary code, only make sure that you use the same code in both the Arduino sketch and the boblight.conf file. This means that this number does not depend neither on the type of the strip in use nor the number of LEDs, and must not be recalculated using any scripts in processing.
NEO_GRB, NEO_RGB, NEO_KHZ800, NEO_KHZ400: Depending on the chip of LED strip, read the comments in the Arduino sketch to know which one to use.
PC Side
So far you should not have had problems, but from this point on, due to different versions of boblight around, could begin the real headache.
Boblight is only available for Linux systems and you will need a version compiled to run on windows. Also numerous versions are incomplete, bugged and not working.
The version linked below is fully functional and modified by me to avoid some known issues.
Boblightd (daemon) + Boblight (XBMC client)
BOBLIGHTD
Extract the .rar archive to C:\
You will need your own boblight.conf file following your LEDs configuration.
In C:\boblightd\ you can find my version of the file, feel free to modify that file or just create a new one with this online tool.
First part of the config file is:
#[global]
interface 127.0.0.1
port 19333
[device]
name ambilight
type momo
output /dev/com3
channels 360
interval 5000
prefix 41 64 61 00 31 64
rate 460800
debug on
delayafteropen 1000000
Notes:
NAME: whichever you want.
TYPE: momo is right for WS2812B chipset.
OUTPUT: /dev/comx where x is the number of the port where Arduino is connected, look at control panel / devices management / ports (COM and LPT) to find out which one.
CHANNELS: number of total R+G+B channels, 3 * # LEDs. Es: with 120 LEDs, it is 360.
INTERVAL: capture refresh rate, 20000 is for one image captured every 50ms which is right for video application.
PREFIX: some arbitrary HEX numbers to make Arduino be able to find the start of each frame, It can be wichever combination you want, just change them in the Arduino sketch too accordingly.
RATE: baud rate, speed of serial communication. It must be the same specified in boblight.conf
DEBUG: on / off to activate verbose mode in cmd shell.
DELAYAFTEROPEN: Some delay after port opening.
Second part of the config file is pasted from the online tool:
[color]
name red
rgb FF0000
gamma 0.91
adjust 1.0
blacklevel 0.0
[color]
name green
rgb 00FF00
gamma 0.86
adjust 0.96
blacklevel 0.0
[color]
name blue
rgb 0000FF
gamma 0.95
adjust 0.8
blacklevel 0.0
[light]
name 001
color red ambilight 1
color green ambilight 2
color blue ambilight 3
hscan 0 10
vscan 0 20
[light]
name 002
color red ambilight 4
color green ambilight 5
color blue ambilight 6
hscan 0 10
vscan 4 20
etc…
BOBLIGHT
This is the client node for xbmc. Install this add-on from xbmc official repository called service “XBMC boblight”.
Ok, now we are ready to start the daemon with start.bat. You should see something like this:

Followed by this:

Known issues:
If you get any “Not a Valid Win32 Application” error message => It’s a bugged version => Download this one.
If you get “boblightd outputs ERROR:abmiligt: dev/com3: tcgetattr() invalid argument” and then: “ambilight dev/com3 had a non fatal error, it might still work” => This is due to how windows manage the COM ports, preventing ambilightd to successfully open the port in some situations, including new boot or reboot. I manage this by simply write a character to the serial port with the echo command, this seems to awake the port and make the deamon start as normal => Again download my modded version of the daemon to get rid of this issue.
Minimize the dos shell and run XBMC which It should says “connected to boblightd” at startup.
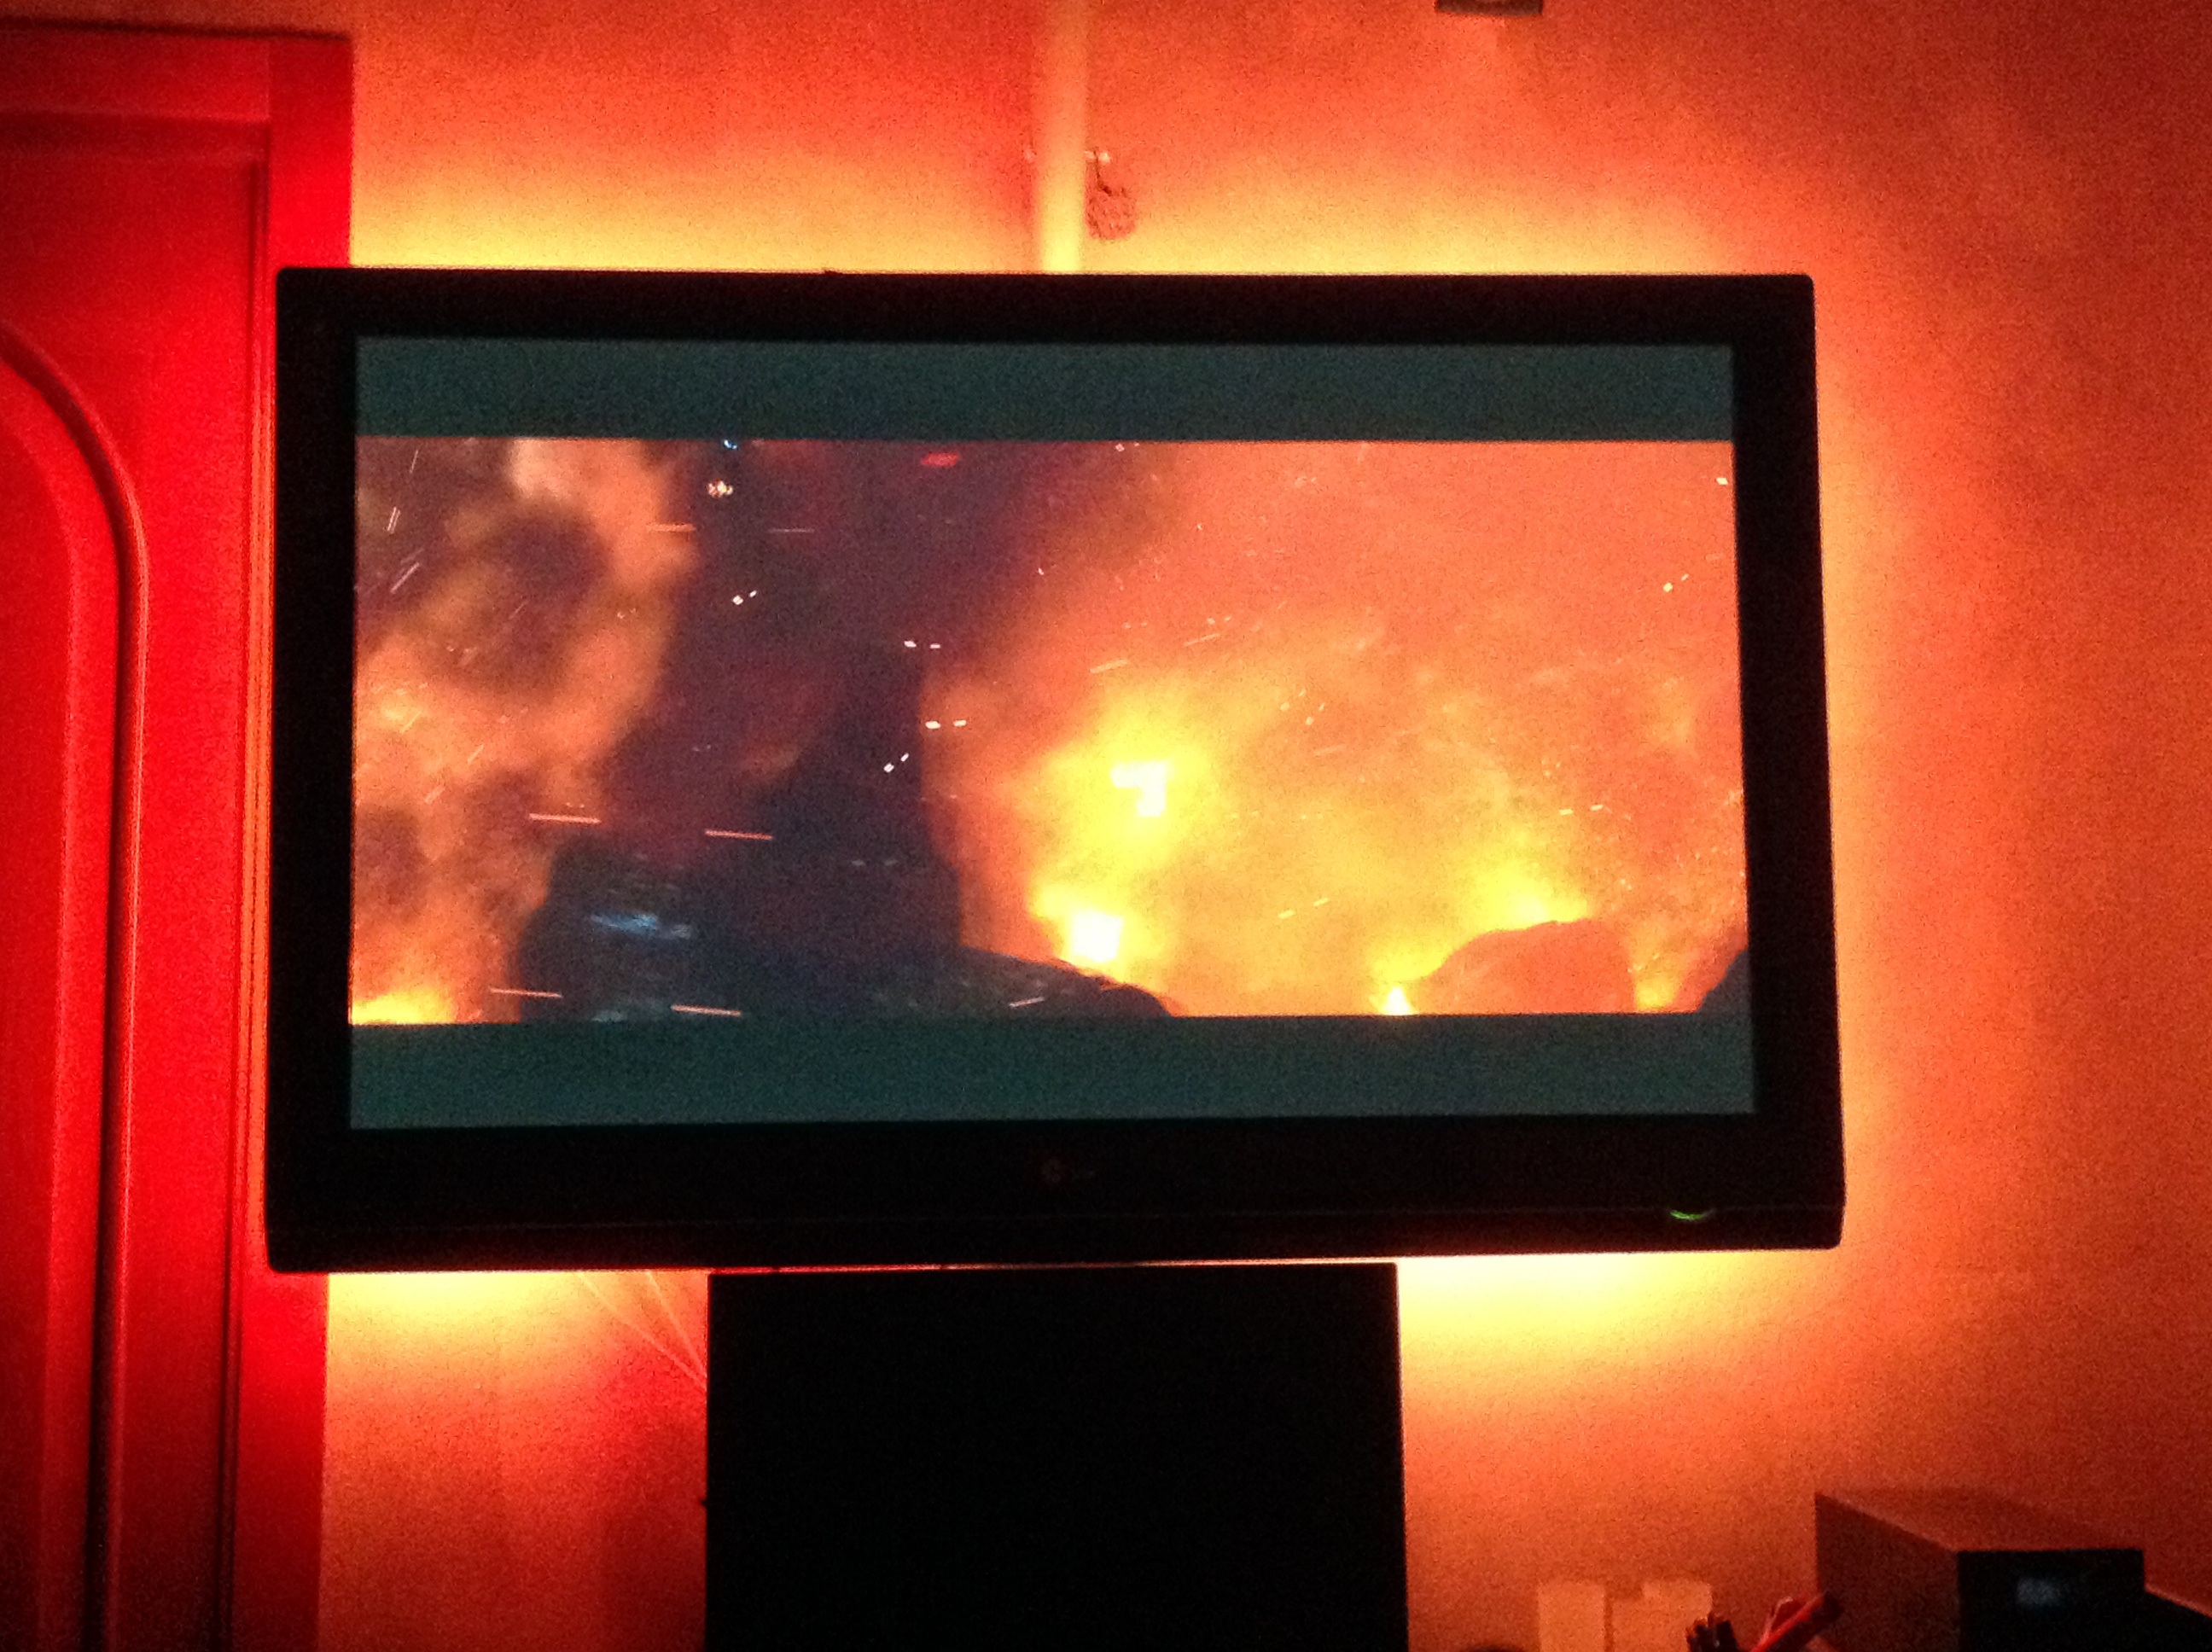
Play a movie and enjoy the show! Here is my results, sorry for the flickering but it’s a plasma TV.


Now, as promised, should be passed at the most 40 minutes and I’m sure I was able to solve at least one problem whose solution you’ll be panting to find on various forums.
If so leave a comment about your experience and maybe with a picture of your Ambilight system.
Have fun with your new multimedia system and goodbye to the next!

Hi!
In the Adafruit_NeoPixel_Master.zip, there are a few files. In witch file do I change the values of: DATAPIN, LEDCOUNT , BAUDRATE? I cant find out where to put my data.
Thanks for a great manual!
LikeLike
Hi jT,
in order to use the library for tests or with my sketch you first have to import the library in Arduino IDE following these instructions:
Sketch > Include library > Add .ZIP library then select the patch where you library is
Do not unzip or open the files contained in the ZIP file.
After the import you can find and eventually load into your arduino all the examples related to that library, in:
File > Sketch Directory > libraries
Ty, hope this can be helpful!
LikeLike
Can you post a Step by Step instruction video for the noob?
LikeLiked by 1 person
I would like to have an all time ambilight on my windows, as I am not watching movies on my pc. I am running Hyperion for my TV and it would be nice to light up the PC room, but I can find any good software for windows.
LikeLike
Hello Thommy,
For this project I used the XBMC/KODI plugin to control the boblightd deamon but of course you can develop and use you own software or maybe by modifying directly the arduino firmware to make the system works in the way you like. For this you will need to dig into the code and understand what command the MC plugin sends to the daemon, and try to make your software or firmware send these commands instead.
Hope this will give an idea how to do it. Best regards,
Cristian
LikeLike
Hello with your ambilight the black bars in a movie are detected?the color information is accurate?
LikeLike
Hello, I found the color are pretty accurate, and to take care of the black bars there is an option inside the XBMC/KODI plugin to set the amount of pixels to be considered for the calculi around the screen border.
Cristian
LikeLike
hello;
the link for online tool to create config file is dead or invalid, would you please share the entire code or any other source to create one? thank you
LikeLike
Hello, please download boblightd.rar and in the boblightd directory, you should find my version of the configuration file called boblight.conf.org, use this as a starting point if the online tool isn’t working anymore, you should easily understand how to modify it. I’m sorry but I’m not the designer of the online tool, I just used this for this purpose.
Hope this will solve your problem,
Cristian
LikeLike
thanks for your reply, i finally managed to make it work, i am happy.
But i am not happy with the color leds display, it does not truly identical to tv’s edge color and it does not react exactly according to tv’s edge color, do i need to edit any thing or any thing that can fix it?
LikeLike
Hi, nice guide. Followed this, works..
Except boblight uses only 50% of te leds.
Strandtest works perfect.
Also it looks like the leds are upside down.. Any idea? It is also very slow switching, any option to smooth it?
LikeLike
Hi,
Have you tried Hyperion instead of Boblight ?
Thank you
LikeLike
Hi,
thak you for this tutorial, i am sensing im a mouse hair from fully working ambilight.
i get error in dos when oppening start.bat file :”
C:\Users\MyName>C:\boblightd\boblightd.exe -c c:\boblightd\boblight.conf -f
‘C:\boblightd\boblightd.exe’ is not recognized as an internal or external command,
operable program or batch file.
”
Have you had such a problem? Do you might know a solution?
Thank you and sorry for bad english 😀
LikeLike
Thank you !!! after 8 hours looking all over the internet, I come here and you gave me the solution. thanks man, you’re great.
bookmark this page, and save as pdf jejej
used in linux xubuntu 12.04
arduino uno
ws2812 no b
work like a charm
LikeLike
Glad to be of help Renso!
Cheers
LikeLike
i get error in dos when oppening start.bat file :”
C:\Users\MyName>C:\boblightd\boblightd.exe -c c:\boblightd\boblight.conf -f
‘C:\boblightd\boblightd.exe’ is not recognized as an internal or external command,
explain the solution..plzz
LikeLike
Hi!
I cant get it to work. Did everything as you described. When starting the daemon it looks like in your fisrt screenshot and the leds restart (i set the colour to white in the arduino code). Your second screenshot doesnt pop up!
Kodi/Boblight connects with the daemon but the leds dont change their colours.
I read on some websites that after starting the daemon the leds should do a colour cycle. My leds stay white all the time, so i have no colour cycle.
Any ideas what i am doing wrong? The test scrips from the library are working
Thanks!!!!
LikeLike
Hi Christoph,
don’t be discouraged, I think you’re almost there! Let’s consider what’s going on:
– You successfully run the test script in the library -> (the hardware is ok)
– You successfully edited the starting color (script ok) but…are you sure you didn’t hardwritten the white color by loosing the ability for the color to be changed automatically? -> (check the script)
– If you see the first screen but not the second it means that the deamon didn’t load successfully for any kind of reason (daemon KO? Read carefully the shell messages and make sure it is all ok, e.g. if there are some problem with busy or inaccessible COM port, the damon stops and prompt without proceding to the next phase) Boblight should start normally WITH or WITHOUT Kodi.
– Kodi connects to the daemon (daemon-client OK)
You know it is working when you have a lot of zeros running in the dos shell.
In that case you can minimize the dos window and launch kodi.
In my case there is no colour cycle as I set the starting colour to black. So I only see the leds working when I start the playback.
Cheers
LikeLike
Hi Cristian!
Thanks for ur help!!
– also when using your original script it didnt work
– when starting kodi the daemon shows up a message like “handshake ok”. also a kodi message pops up that says that it is connected to the daemon
– the zeros never appear…
searching the web, i discovered another script, which also should work for boblight and prismatik. In fact it didnt work with boblight at all. But when i startet the daemon the RGB colour cycle startet at least. With prismatik it worked!
Continuing my search i discovered ambibox. This is working (for 80% of my movies) with Kodi with the script i found on the web.
If you dont mind, i would post the script i found (if I can find it again…). Maybe it could be helpful for somebody else…
Anyway i would really like to know what my problem with boblight is…
LikeLike
Just for anybody else who has the same problems: set the speed (baud rate) to 115200 in the sketch and the config and it works 🙂
I read on the web that win7 isnt able to handle speed over 115200.
Another question: if my tv screen is black, the leds glow white. Occours also when using your script so i assume a problem with the kodi addon or the config. Any idea?
LikeLike
Hi Christoph,
This means that now your system is working with boblight too?
Concerning to the color on black screen you can clearly see in my video at 1:19 that with black screen the LEDs are completely off like it should be, so I’m not sure I have understood your question.
Btw, as the final LED colour depends not only on the pixels just near the border but on an average colour of a given area near along the border, you can resize the width of this area considered in the calculation using an option in the boblight plugin in kodi. Maye it is what you are looking for.
LikeLike
Yes its working now! Thanks!
The only thing that isnt working is the mentioned black problem. Even when in a movie the tv screen is completely black the leds glow white. I tried to change the blacklevel and other settings in the colour section of the config but it had no effect…
LikeLike
Good job. I did not work for myself. First I checked that the LEDs work with the Adafruit_Neo_Pixel-master library.
I also see that Kodi boblight sends data to the boblight but once charge Arduino sketch does not light any led.
If I try to connect the Arduino with the IDE with boblight server on it gives me a busy port error. It is right?
I also suspect the my clone arduicno with the ch340g chip as the usb controller. This may be the problem?
Thank you for your help.
LikeLike
I also have the black problem. I have the same settings in boblight.conf, but with black screen the leds are glow white. I don’t now how to fix this. I changed arduino settings and boblight settings, but the leds are always white when the screen is black.
LikeLike
Hi Cristian, I got a problem in running boblight deamon. When I open the kodi, there are sentence said: This addon needs a binary library. Should the addon try to download it for you ?
After I click yes, it said your library is currently empty. In order to populate it with your personal media, enter files section… When I enter the files section it’s a file there. Could you help me ?
LikeLike